If you are comparing bids for a new roof, the biggest difference is not just the shingle brand or the price on the proposal. It is whether the crew follows the roof installation process step by step, with the right prep, weather planning, ventilation, flashing details, and final quality control. In Chicagoland, where wind, ice, heat, and storm damage all put stress on a roofing system, the sequence matters just as much as the materials.
A roof is not one product. It is a system of decking, underlayment, leak barriers, ventilation components, flashing, starter materials, field shingles or other roofing products, and ridge details that all need to work together. When one stage is rushed or skipped, problems usually show up later as leaks, lifted shingles, poor attic airflow, or premature wear.
Roof installation process step by step
The first stage is the inspection and planning phase. Before any material is delivered, a qualified roofing contractor should evaluate the existing roof, attic conditions, drainage layout, flashing points, and any structural concerns. This is where roof age, storm damage, soft decking, ventilation performance, and code requirements are reviewed. For homeowners, this step is where the project gets clearer. You learn whether you need a full tear-off, partial deck replacement, upgraded ventilation, or additional ice and water protection around vulnerable areas.
This planning stage also affects the estimate in a meaningful way. A low bid may leave out damaged deck replacement, proper flashing updates, or manufacturer-required accessories. That can make the price look attractive at first, but it creates risk once the old roof comes off. A dependable contractor will explain what is included, what could change if hidden damage is found, and how the schedule may shift based on weather.
Step 1: Site protection and material delivery
Before tear-off begins, the property should be protected. That usually means placing materials carefully, covering landscaping, setting up debris control, and planning access for dumpsters or trailers. A professional crew treats this as part of the installation, not an afterthought.
For residential homes, protecting siding, driveways, decks, and shrubs matters because roofing debris travels farther than most owners expect. On commercial properties, access, safety, and minimizing disruption become even more important. Good setup reduces cleanup issues and helps the project move faster once work starts.
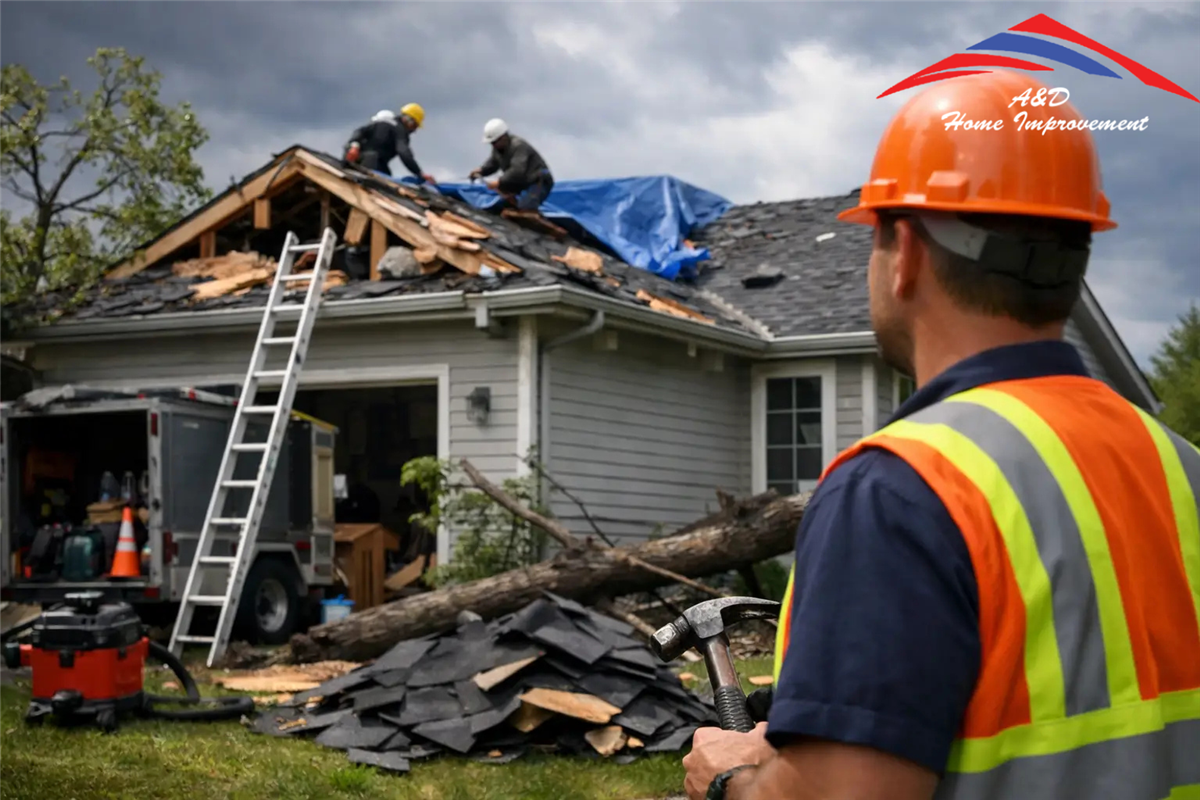
Step 2: Tear-off of the old roofing system
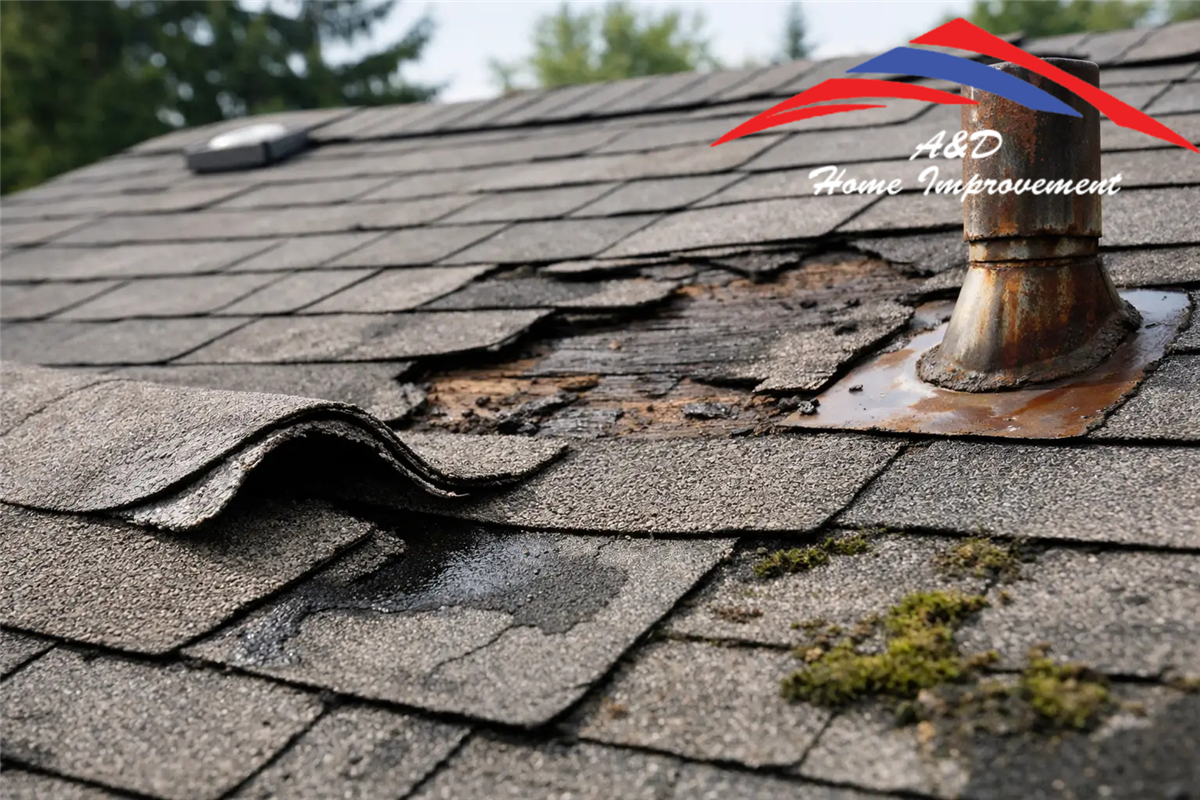
In most full replacements, the old shingles and underlayment are removed down to the roof deck. This gives the installer a clean surface and allows hidden problems to be found. It is the only reliable way to see whether the decking is sound and whether flashing details around penetrations, valleys, skylights, and walls need correction.
There are cases where a layover may be legally allowed, but it is usually not the best long-term value. Adding a second layer can hide deck issues, increase roof weight, and make future leak diagnosis harder. In a climate with freeze-thaw cycles and strong wind exposure, a full tear-off is often the smarter choice.
Step 3: Deck inspection and repair
Once the old materials are off, the wood deck is inspected. Any rotted, soft, delaminated, or structurally weak sections should be replaced before installation continues. This is one of the most important steps in the entire process because the roof covering is only as reliable as the surface beneath it.
This is also where experienced crews stand out. They know the difference between surface staining and actual deck failure. They also know when moisture damage near eaves, chimneys, or old vent openings points to a bigger ventilation or flashing issue that should be addressed now, not after the new roof is finished.
Why the roof installation process step by step matters
The next phase is waterproofing. After the deck is approved, leak barriers and underlayment are installed. In Illinois, ice and water protection is especially important along eaves, valleys, and other vulnerable transition points where melting and refreezing can force water backward under shingles.
The underlayment adds another layer of defense between the roof covering and the deck. Different roof types use different underlayments, and the right choice depends on the slope, material, code requirements, and manufacturer specifications. Synthetic underlayments are common because they offer strong tear resistance and weather protection during installation. Even so, no underlayment can make up for poor flashing work or rushed shingle placement.
Step 4: Flashing and penetration details
Flashing is where many roofing problems begin or end. Chimneys, sidewalls, valleys, plumbing vents, skylights, and roof-to-wall transitions all require careful detailing. These areas move water differently than open roof sections, which means they need custom attention.
A quality installation does not simply reuse old metal because it is convenient. In many cases, replacing flashing is the safer approach, especially if the previous roof had leaks, corrosion, or improperly layered materials. Proper flashing is one of the clearest signs of whether a roof was installed to last or installed to pass a quick visual check.
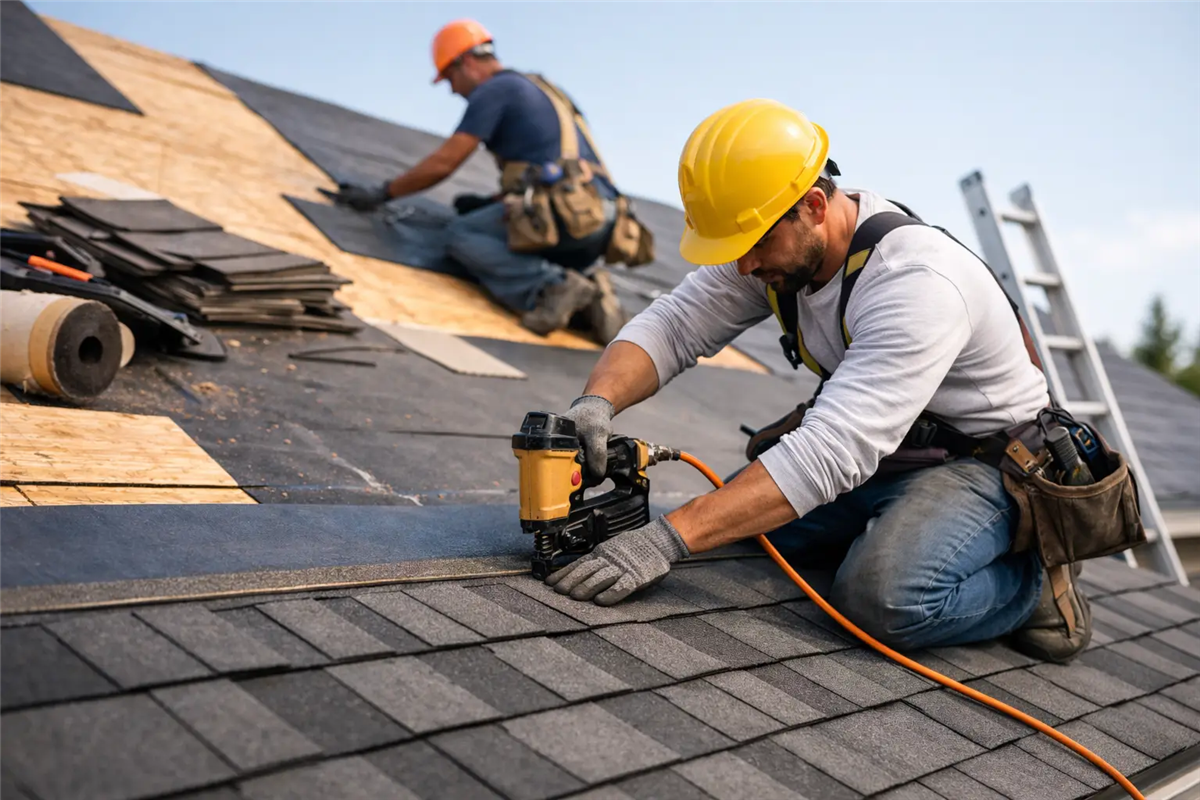
Step 5: Starter shingles and field shingle installation
Once the waterproofing and flashing are in place, the actual roof covering goes on. For asphalt systems, this usually begins with starter shingles at the eaves and rakes. Starter materials help create the first seal and support wind resistance at the roof edges.
Field shingles are then installed in a consistent pattern based on the manufacturer's specifications. Nail placement, exposure, alignment, and fastening quantity all matter here. A roof can look fine from the ground and still be installed incorrectly if nails are overdriven, misplaced, or insufficient for the wind zone. That is why certified installation standards matter. They protect both performance and warranty eligibility.
Different roof materials change this part of the process. Architectural shingles, designer shingles, low-slope membranes, and commercial systems each have their own fastening and layout requirements. The best contractor will match the product to the building, budget, and expected performance, rather than forcing every property into the same solution.
Step 6: Ventilation components and ridge installation
Roof installation is not just about keeping water out. It is also about allowing the attic or roof assembly to breathe correctly. Intake and exhaust ventilation help control heat buildup and moisture, which affects comfort, energy use, and roof lifespan.
If a roof is replaced without addressing poor ventilation, the new system may still underperform. Shingles can age faster, attic temperatures can spike in summer, and moisture can collect during winter. Ridge vents, box vents, soffit intake, and other components should be evaluated as part of the full system. This is one reason a roofing proposal should never be based on shingles alone.
Step 7: Sealing details, cleanup, and final inspection
After the main installation is complete, the crew handles ridge caps, final seal points, exposed accessories, and all finishing details. Then comes cleanup. Nails, scrap material, and old roofing debris should be removed thoroughly from the lawn, driveway, beds, and surrounding work areas.
The final inspection is where professionalism becomes visible. A dependable contractor checks the roof lines, flashing terminations, ventilation, shingle placement, and cleanup quality before closing out the job. Homeowners should also receive clear warranty information and documentation of what was installed.
For storm-damaged roofs, this is also the stage where insurance-related paperwork may be finalized. That process can vary depending on the carrier and scope of loss, but good documentation supports a smoother experience.
What can change the timeline?
Most residential roof replacements can be completed quickly under normal conditions, but timing depends on roof size, pitch, weather, access, material type, and whether damaged decking is discovered. A simple shingle roof may move fast. A complex roof with multiple valleys, steep sections, chimney details, and ventilation corrections takes longer for a reason.
Weather is the biggest wildcard in the Chicago suburbs. Wind, rain, and sudden temperature changes can affect tear-off, sealing conditions, and crew scheduling. That is not a sign of poor planning. It is a sign that the contractor is protecting the installation quality instead of forcing the job through in the wrong conditions.
How to know the process is being handled correctly
A strong roofing contractor explains the sequence before work begins and keeps you informed if conditions change. You should know what products are being installed, whether flashing is being replaced, how decking issues are handled, and what workmanship warranty backs the job.
This is where local experience matters. A company working in Illinois needs to understand ice dam risks, storm patterns, ventilation needs, and the value of manufacturer-backed systems installed to certification standards. A&D Home Improvement approaches roof replacement with that full-system mindset because long-term performance is the real measure of value, not just the day the roof looks new.
A new roof is a major investment, but the process should not feel uncertain. When the work is planned carefully, installed in the right order, and checked with discipline at every stage, you get more than curb appeal. You get protection that stands up better to the next storm, the next winter, and the years after that.
Tags
Subscribe to A&D Home Improvement's Blog